Normal CSS is tedious and boring to write. I mean, why should you have to keep worrying about what the exact hexadecimal code for an element in the styling should be? Or what the margin needs to be for elements?
That’s where SCSS comes into play. It’s advanced CSS that has the ability to use variables and functions, very much similar to how you would in a normal programming language.
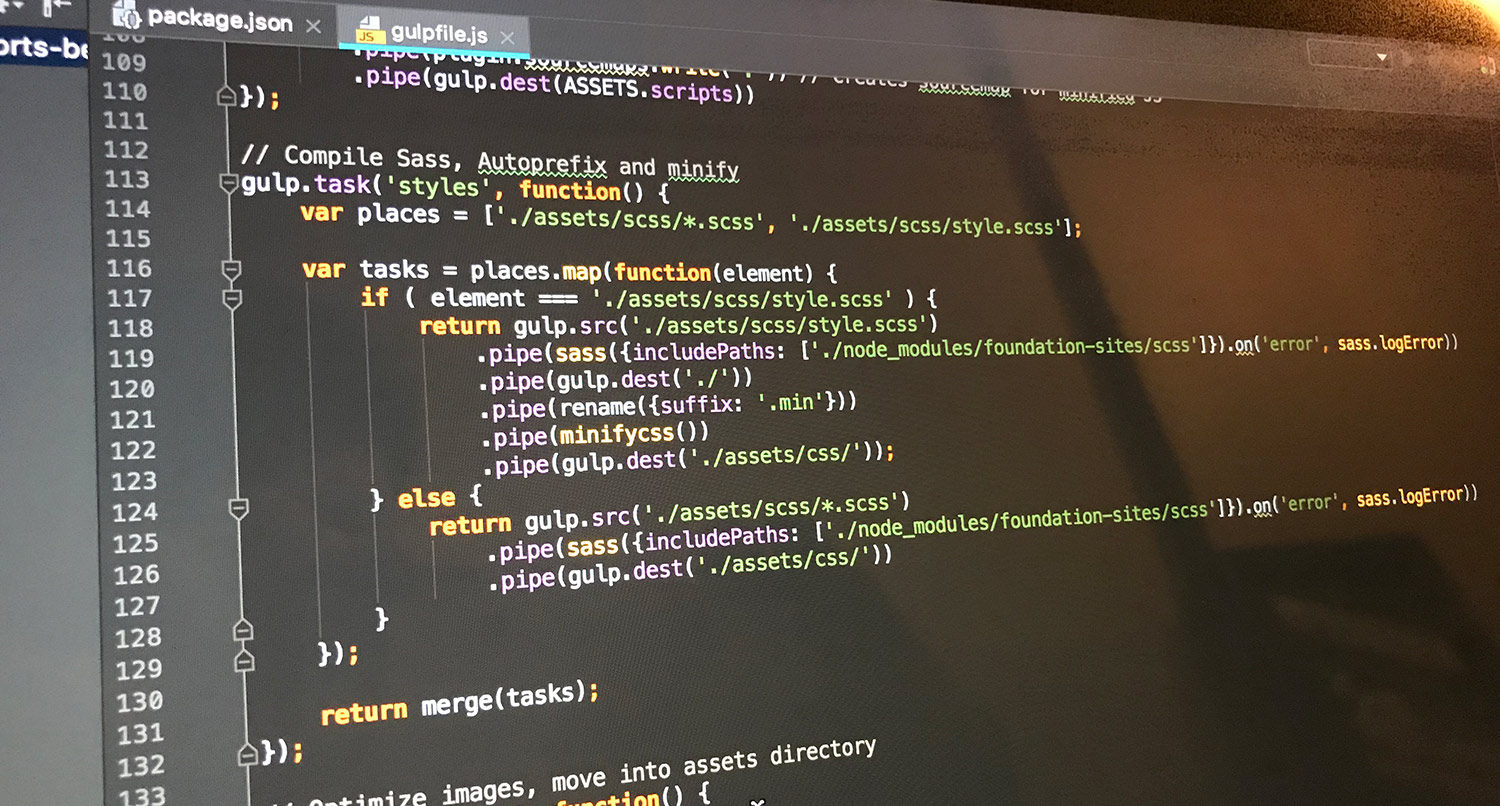
But you can’t just use it like plain old CSS. You need to compile it into regular CSS for browsers to read. There are a ton of ways you can compile SCSS and it’s semi-twin SASS, but through out this week, we’ll be discovering how to compile SCSS through npm and Gulp.
And the start of our process leads us to npm.
What is npm?
So obviously, the first thing we need to do is go over what npm actually is. npm stands for Node Package Manager. With npm, you can install and control different packages that you can use with your website to compile code or add functionality, especially if you’re using a JavaScript framework. These packages range anywhere from VueJS plugins to a SASS or SCSS compiler.
Installing npm on your machine is fairly simple. You just need to download it from the Node.js website to install Node.js and npm, since it’s written in Node.js. Then once it’s installed, you can test to see if the install has worked by running the following command in the command line.
node -v
And now npm is installed on your machine and you can start adding packages.
What is package.json?
But before we start to add packages to our project, we should discuss the package.json file and what it’s good for.
With more advanced projects, you’re going to be dealing with a ton of packages. Heck, just to get started with VueJS, you need to start out with a basic 15 packages or so.
So it can get pretty complicated quickly when you start creating bigger projects. And that’s where the package.json file comes in. Here, you’ll first define the name, version and description of your project, then add in the dependencies or packages for your project and then add in the scripts that can be run with the project.
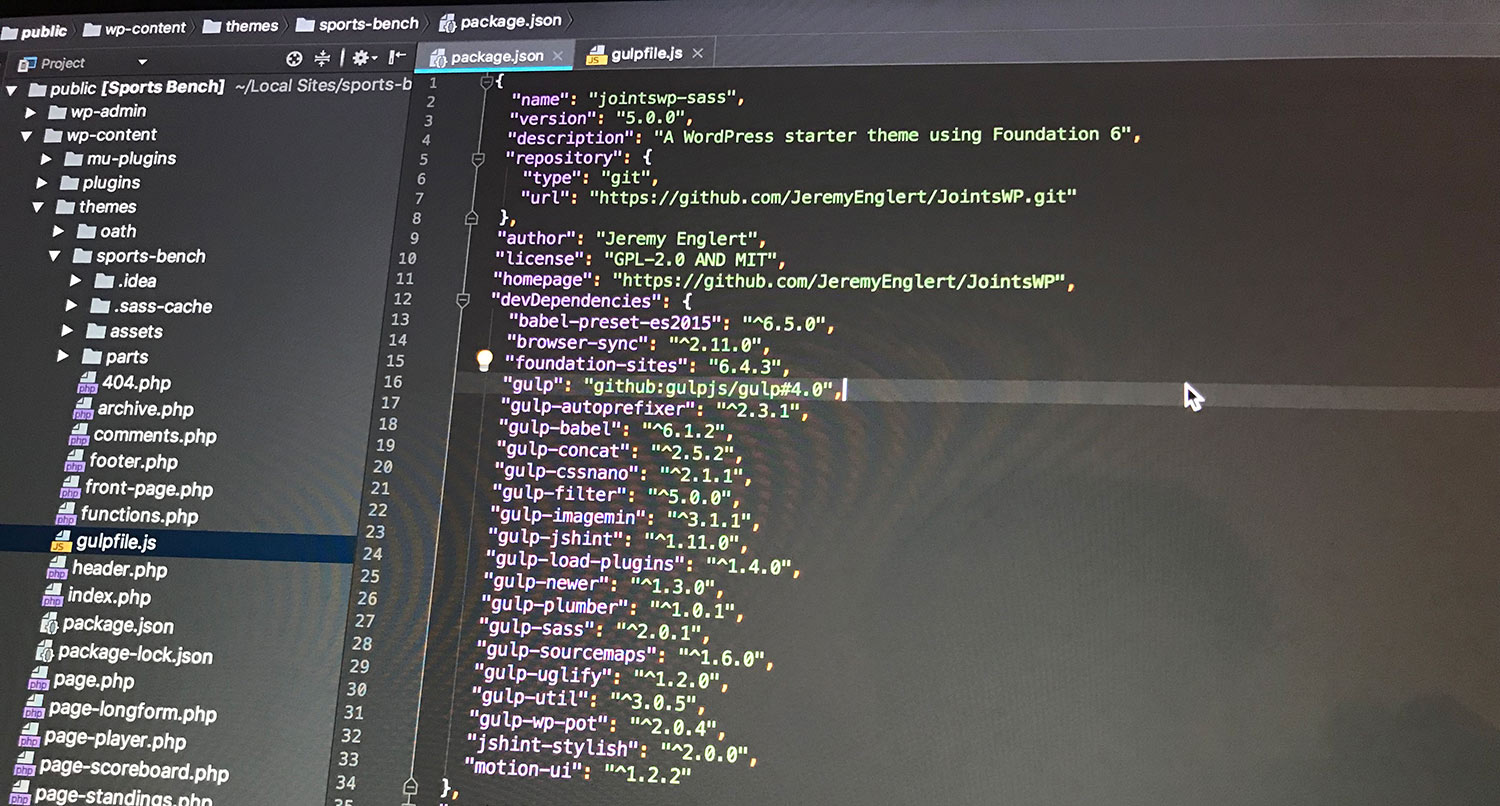
Here’s a sample package.json from JointsWP, which I use as my part of my base WordPress starter theme.
{
 "name": "jointswp-sass",
 "version": "5.0.0",
 "description": "A WordPress starter theme using Foundation 6",
 "repository": {
 "type": "git",
 "url": "https://github.com/JeremyEnglert/JointsWP.git"
 },
 "author": "Jeremy Englert",
 "license": "GPL-2.0 AND MIT",
 "homepage": "https://github.com/JeremyEnglert/JointsWP",
 "devDependencies": {
 "babel-preset-es2015": "^6.5.0",
 "browser-sync": "^2.11.0",
 "foundation-sites": "6.4.3",
 "gulp": "github:gulpjs/gulp#4.0",
 "gulp-autoprefixer": "^2.3.1",
 "gulp-babel": "^6.1.2",
 "gulp-concat": "^2.5.2",
 "gulp-cssnano": "^2.1.1",
 "gulp-filter": "^5.0.0",
 "gulp-imagemin": "^3.1.1",
 "gulp-jshint": "^1.11.0",
 "gulp-load-plugins": "^1.4.0",
 "gulp-newer": "^1.3.0",
 "gulp-plumber": "^1.0.1",
 "gulp-sass": "^2.0.1",
 "gulp-sourcemaps": "^1.6.0",
 "gulp-uglify": "^1.2.0",
 "gulp-util": "^3.0.5",
 "gulp-wp-pot": "^2.0.4",
 "jshint-stylish": "^2.0.0",
 "motion-ui": "^1.2.2"
 },
 "scripts": {
 "postinstall": "npm run build",
 "build": "gulp",
 "scripts": "gulp scripts",
 "styles": "gulp styles",
 "images": "gulp images",
 "watch": "gulp watch",
 "browsersync": "gulp browsersync",
 "update-foundation": "npm install foundation-sites"
 },
 "jshintConfig": {
 "globals": {
 "jQuery": true
 }
 },
 "dependencies": {
 "gulp-minify-css": "^1.2.4"
 }
}
Don’t worry about the scripts part for the moment. We’ll talk about that next time when we get into using Gulp.
Installing npm packages
And finally, let’s go over how to install packages with npm. There are two ways we can do this: one-by-one or all at once with package.json.
The default way to add a single package is by navigating to your project in the command line and then typing npm install and then the package name. So, if I wanted to install the Gulp SASS package, which we will be using through this tutorial, we would run the following command in the command line.
npm install gulp-sass --save-dev
And now, if you didn’t already have it in your package.json file, you should now see it there.
Speaking of the package.json file, you can install a lot of packages at once by including them in that file and then running the following command.
npm install
This command will go through the package.json file and install all of the packages in there at once while you go off and watch a video or grab a coffee. Simple as that.
Node_modules directory
Of course, you might be wondering where these packages reside in the project. And that would be the node_modules directory that’s created when you install a package.
This is nice and all, but that directory is massive. Like, insanely massive. So it’s essentially required practice that you either delete this directory for the production version of your package, or ignore it in Git with the gitignore file. And don’t worry if you think other members of the repository won’t be able to use those packages. They’ll be able to run npm install themselves to get those packages.
But that’s it for npm and package.json. These can seem like scary things, but once you get down to it, they’re not too hard to learn. Next time, we’ll step into Gulp and writing scripts to compile SASS and SCSS.
Other npm, Gulp and SCSS tutorials
- What is Gulp and how to use it
- What is SCSS and how to use it — Friday


