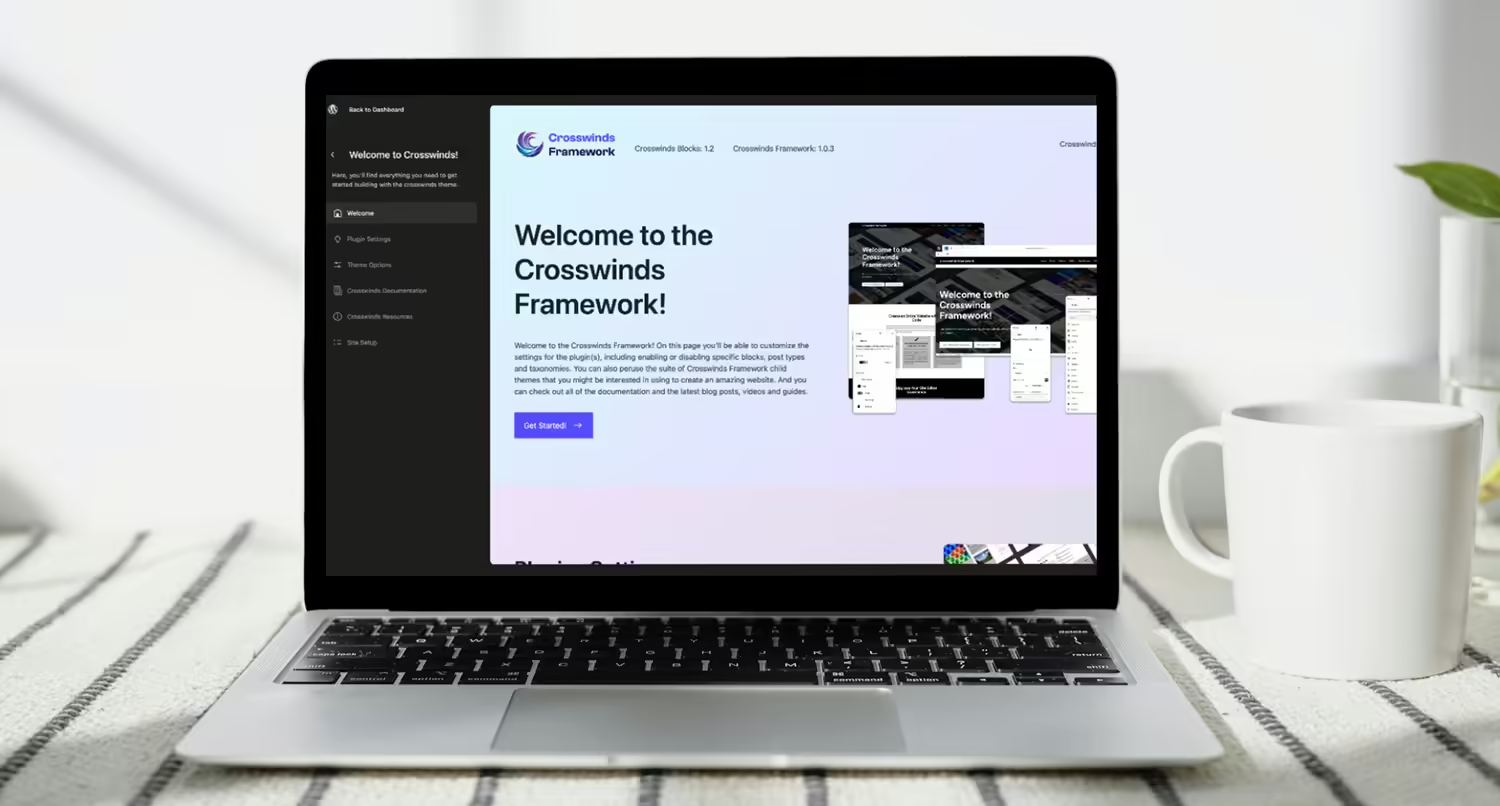
In addition to creating a new settings screen, the latest release of the Crosswinds Framework also saw an onboarding sequence added for anyone who is using the Crosswinds Blocks plugin and one of the Crosswinds Framework themes.
One of the biggest points of discussions with WordPress and helping new users get started on their website is onboarding sequences. The Ollie theme really helped kick off this discussion when there was debate about whether or not the theme would be able to have it and be in the WordPress Theme Directory.
And an onboarding sequence is something that’s important for any plugin or theme. It can help a user get started quicker than if they had to do things on their own. So I wanted to take the time to make sure the Crosswinds Framework had its own onboarding sequence to help a site owner start the process of creating their website quickly and easily.
While it certainly wasn’t an easy or quick build, the end result is something that I’m quite proud of.
So here’s my experience creating the Crosswinds Framework Onboarding Wizard.
Why Create an Onboarding Sequence?
The first question is obviously why take the time to create an onboarding wizard, especially for WordPress themes.
For me it really all started with the discussion around the Ollie WordPress theme, which tried to get into the WordPress Theme Directory with its own onboarding wizard. Ultimately, the wizard was removed and moved to a separate plugin, but over the course of that discussion it became clear that onboarding wizards are almost a necessity to help users.
The reality is that for someone getting started with a new WordPress website, the number of options and choices can be overwhelming. A blank canvas might seem like a great way to get started, but it can quickly lead to decision paralysis for someone who is not used to creating websites.
So onboarding wizards can help simplify the process for the user. They can take care of a lot of the things they need to create their website right in one place.
So I wanted to create an onboarding wizard for the Crosswinds Framework themes that helped a user not only activate their theme and add in basic settings but also install required and suggested plugins from the theme, install demo site data if they wanted, choose the header and footer to start with and start to create their homepage, about page, team page and contact page.
Creating the Onboarding Wizard was all about helping set up a user for success in building their website right from the start.
Inspiration for the Onboarding Wizard
The biggest inspiration for creating the Onboarding Wizard was the Ollie Onboarding Wizard that Mike McAlister and Patrick Posner created (and later rolled into the Ollie Dash plugin).
For starters, it really opened up the discussion about onboarding wizards not just for themes but for WordPress as a whole. While I knew that they were a thing, I never really thought about it for themes.
And the more I thought about it, the more it made sense. It would be great to help a site creator set up a good portion of their website right from one screen instead of jumping around from page to page.
The other part of it was that their wizard was open source, which was a big help in learning more about React. I was able to take the time to study the code to really understand how it worked, because I was going to do more with the Crosswinds Framework Onboarding Wizard (more on that in the next section).
That gave me the confidence to be able to create the wizard for the Crosswinds Framework and to make it a reality.
Planning the Onboarding Wizard
Planning out how to build the Onboarding Wizard was pretty straightforward.
I knew the end goal of the entire thing. I wanted to help the site creator install, set up and build as much of the website as possible right from this screen. And then I wanted to point them in the right direction at the end depending on what they wanted to do next.
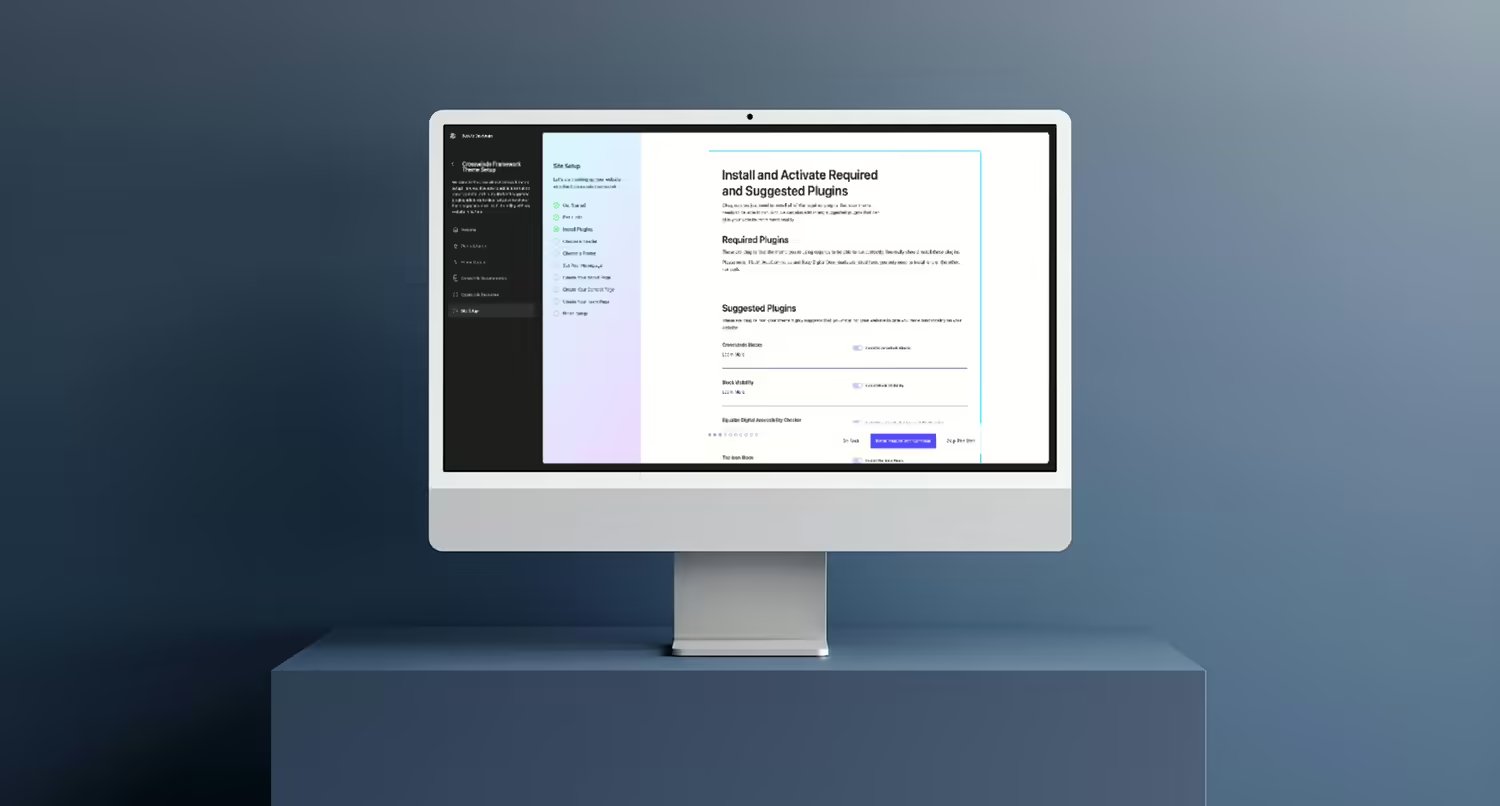
And I knew the steps that I wanted to include in the wizard, including theme license activation, general settings, importing demo site data, installing and activating required and suggested plugins, choosing a header and footer pattern, and setting up some of the basic pages.
Plus, I had the structural outline from the Ollie Onboarding Wizard, including an example of how to use the react-wizard package to actually create the wizard.
Now all that had to be done was to sit down and actually build the wizard.
Simple, right?
Building the Onboarding Wizard
I won’t go through a blow-by-blow review of creating every single part of the wizard. If you really want to take a deep dive into how it was created, you can check out the code in the GitLab repository.
Instead, I’ll just go over some of the highlights.
If I’m being honest, the hardest part of the whole process was getting the plugin installation step just right. While I had done something similar on the theme options page for the settings screen in general earlier, that was just installing or activating one plugin. This part of the process would need to loop through all of the selected plugins to install them.
I was able to again be able to use Merlin WP as an example, but only to a point. That uses jQuery to achieve the installation and activation. This would need to use React.
Eventually, I would finally figure out a solution on how to get it to work, once I realized that the TGMPA plugin spits out page data rather than JSON when it’s activated. But it was about a week of banging my head against the wall.
The other challenging aspect was installing the demo site data. The good news is that I had already done some of the heavy lifting for this step over a year earlier. Portafoglio v1.1 shipped with a demo site importer, so I was mostly able to bring that code over, wrap it in a REST API endpoint and move on. But it took a bit of tweaking to get it to work just right.
Other than that it was a pretty straightforward build.
What I Learned
So after that, what did I learn?
First, onboarding wizards are a great tool for the end user, and I know I can do more in the future to make it easier for users to get started with the Crosswinds Framework.
They really make it easy for someone new to create a website from scratch. And even for seasoned WordPress site builders, it’s great to not have to go from screen to screen all over the WordPress admin to get a website started with the basics (settings, plugins, pages, etc.).
Also, just like with the settings screen, creating in React can be fun when things go right and you get the hang of it.
There were definitely times where I wanted to toss the computer out of the window, but when everything clicked and I got through a testing cycle with the wizard with everything working, it felt quite magical. And it made the struggle worth it.
Finally, I really would like to take more time to see what I can create in WordPress with React that’s outside of the context of custom blocks. As someone who’s still relatively new to React development, there’s a lot still for me to learn and to explore, so I really want to take some time to see what I can do in that space.
Where it Goes From Here
So where does the Onboarding Wizard go from here and what might be added in the future?
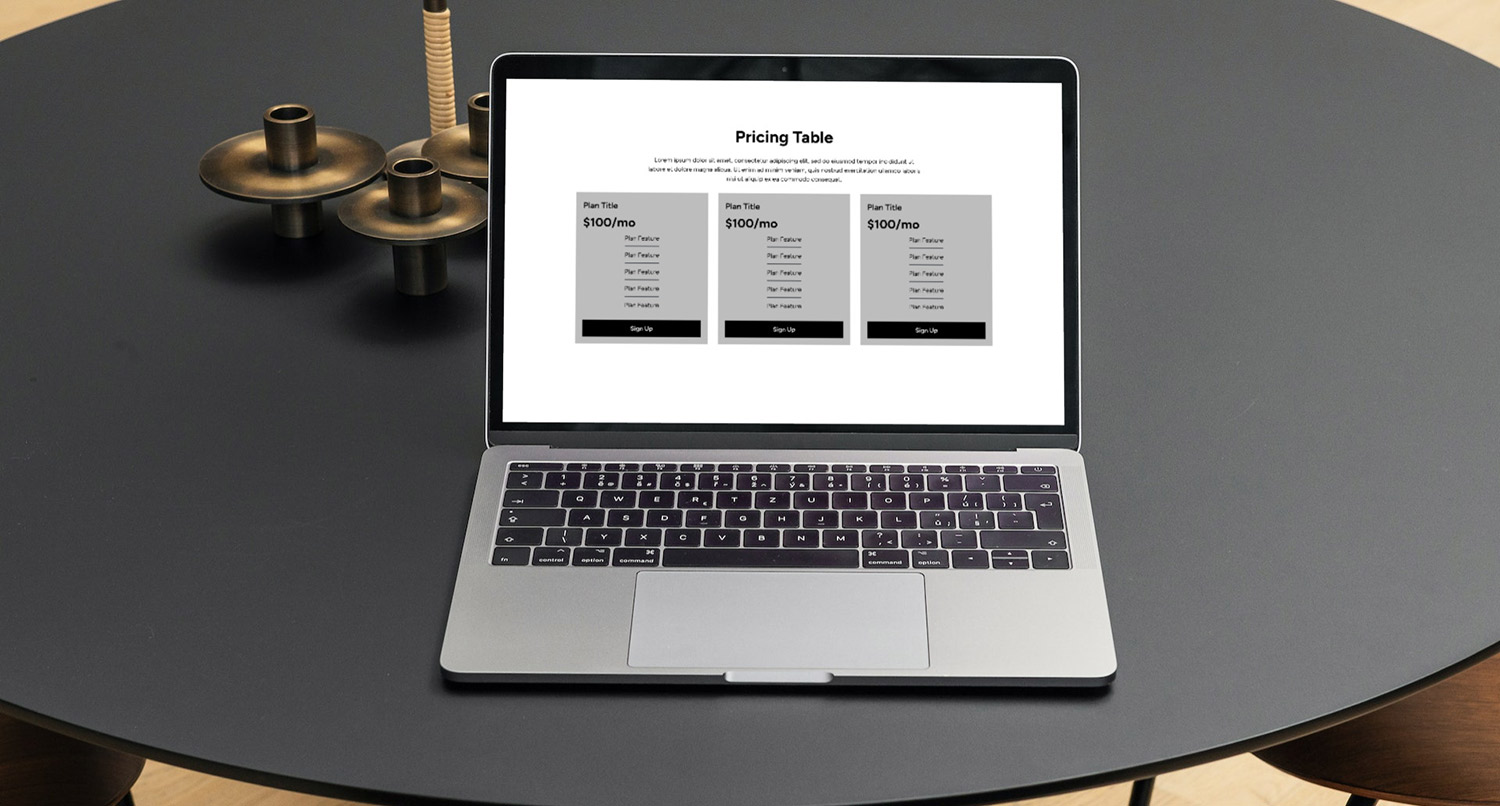
For starters, I would love to be able to actually show the pattern options for the home, contact and team pages. Right now for a first-time user, the pattern titles don’t really describe the options in a great way. But being able to show those patterns would be a massive help so they know exactly what they are selecting.
I did initially try to do this, but I had trouble pulling in the styling to make it all work, and I didn’t want that part to be the thing holding back the Wizard. So I shipped it without it.
But now that it’s out there, I’m going to take the time to add that in.
Also, I’ll probably streamline it even more to make it really help a new site creator get close to 70 or 80 percent of the way towards creating their website right from the Wizard so that creating the rest of the site is easier and more fun.
And finally I would like to make a few more visual improvements and performance enhancements. Nothing too big, but enough to make it flow and feel better for users.
Getting this built and launched was a great feeling, and I can’t wait to see where it goes from here.